Recently, Captain Project (formerly known as Mr. Wonderful ~ he asked me to change his name) and I visited our daughter in Atlanta. Our "parents weekends" began a few years back when Natalie was at the University of South Carolina (go Cocks!). Five years after her graduation, and now that she's back in the ATL, we continue our parents weekend tradition.
We celebrated Natalie's birthday. Can hardly believe my youngest:

(On her first birthday, two days after she first walked!)
...Just turned 27!

We celebrated Captain Project's birthday too, by throwing a big bbq ~ good times.
Natalie and her BF in the kitchen pre-party:

Cooking potato salad and deviled eggs in our Retro Revival aprons:

Our friend Alli made the ah-mazing birthday cheesecake:

Captain Project bbq'd just about a pig's worth of brats and a several chickens:


The next day we got to work creating Natalie's tufted headboard. Our inspiration:

(Photo courtesey Decopad.com)
Supplies:
Peg board
1x4 board
Foam
Batting
Fabric
Spray adhesive
Upholstery thread
Upholstery needle
Buttons for tufting
Buttons for backing
Staple gun
Instructions:
1. Cut peg board, foam and batting to fit the size of your headboard and into the desired shape
2. Cut 1x4 into four equal pieces
3. Cut 1x4 pieces lengthwise at a 30 degree angle
4. Attach 2 of the 1x4 pieces to the back of the pegboard and 2 to your wall; this will allow you to simply sit the completed headboard on the wall securely and to easily remove it later


5. Determine the number of tufts you will create and mark where you will thread the buttons on the back of the board (we used 54 for her queen bed)
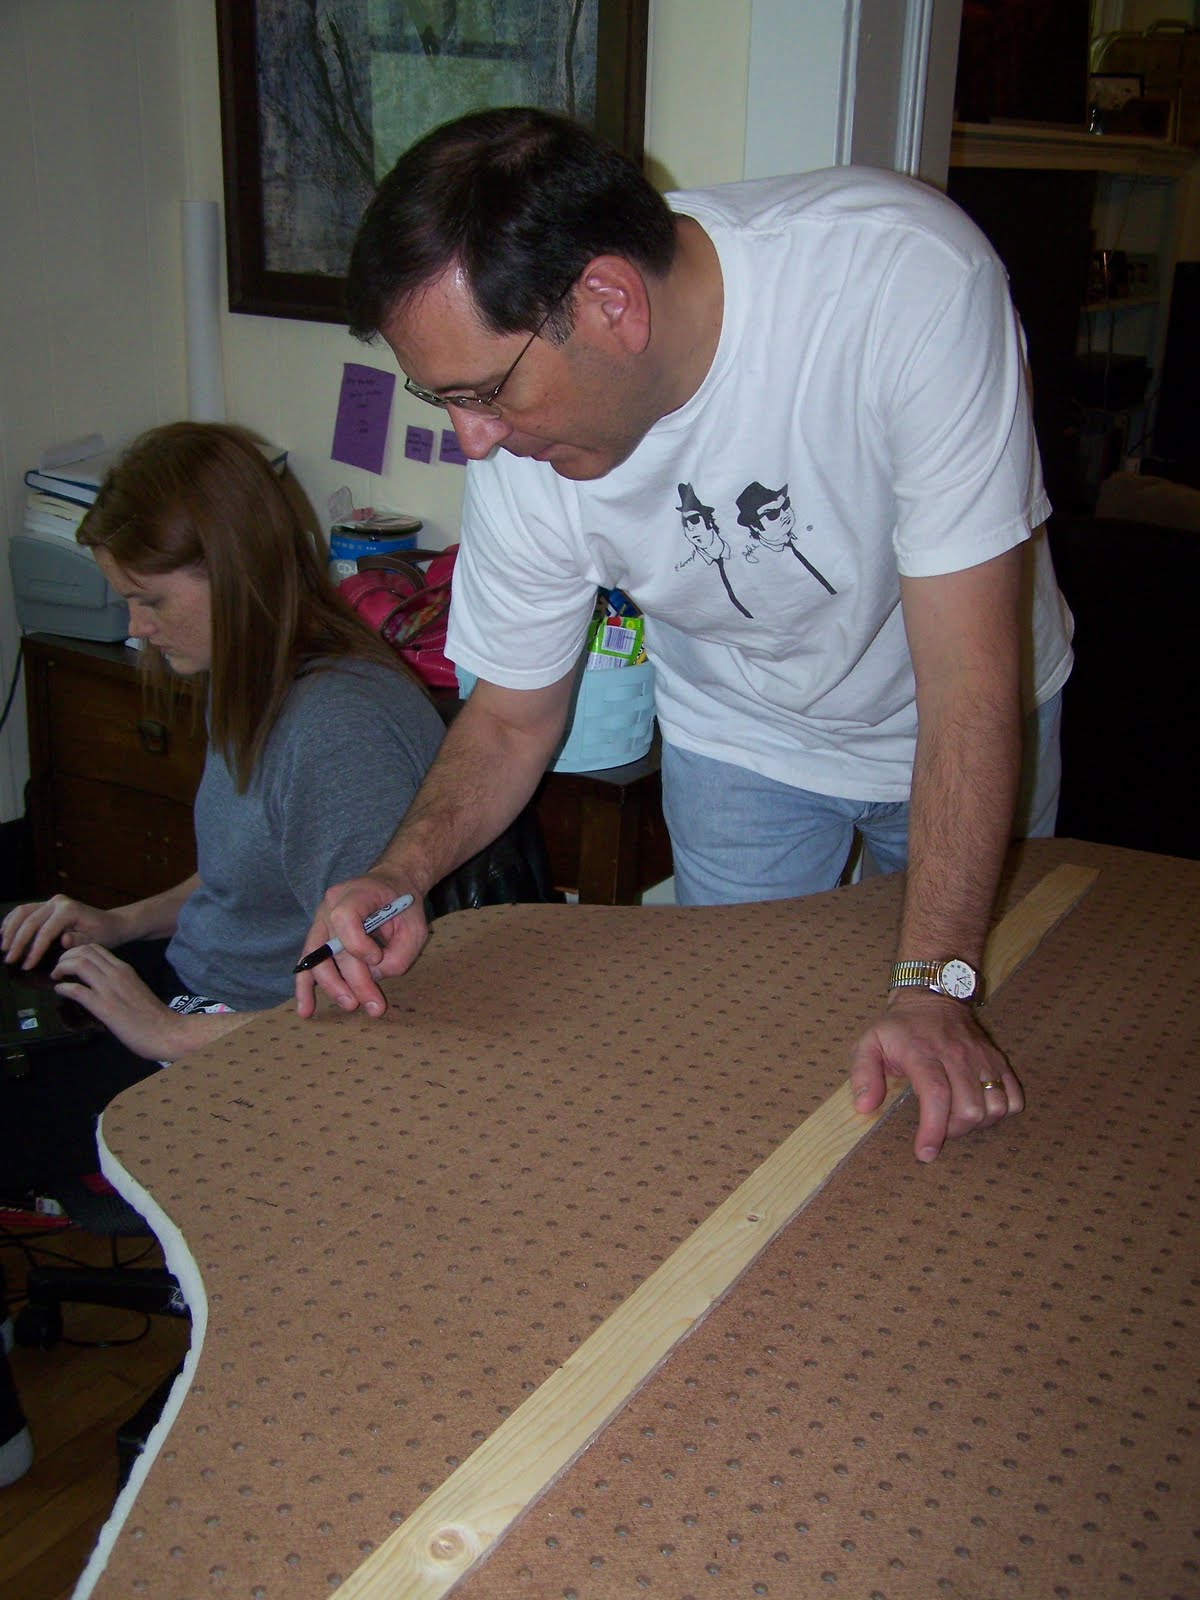

7. Lay the headboard on a flat work space (we used a small desk to save our backs from bending down to the floor) and begin layering on desired thickness of batting

8. Using the needle, thread it through your marked holes, up through the layers and slice an X on top of the layers (this allows your buttons to tuft deeply)

9. Cover your buttons

10. Next, lay your fabric on top and thread your first button through the center middle hole, working outward, completing the row and then moving up and then down until all rows are completed
11. Secure the buttons to the back with small, flat buttons and knotting three times


13. Hang completed headboard on your wall and dream sweetly!
So, those are the "official" directions. Now, for the REALITY!
This was THE most difficult project I've ever tackled! Uh-muh-guh! A record number of curses were uttered (OK, shouted!), our thumbs are still sore, and it seemed to take FOREVER!
The good news is that about two hours into the tufting, we got a clue on how to make the nightmare easier. Here are our tips...
Before tackling this project, you MUST have help ~ two people are absolutely necessary!
We found working on the floor was back-breaking and neck-wrenching...

...So we stood the headboard between us, allowing us to sit comfortably.
Tufting seems easy, you simply thread a needle and thread through a hole, thread a button, and go back through the hole, right? NOT! We found it nearly impossible to blindingly get the needle back through the hole! I say blindly becasue of all of the fabric, batting and foam that lays atop the peg board.
We finally realized that we should peel back the layers as we brought the needled back down and through to the back of the peg board. (But don't skip the glue part, you'll want the adhesion throughout the project; and it peels back and reattaches easily.)
Once we figured this out, the project was significantly easier and no longer mind-blowingly frustrating.
Here's how we did it:
I sat on the back side and threaded the needle through to the front

On the front side, Natalie peeled back the layers...

...Where she could see the hole and thread the needle through the layers, thread the button and then thread the needle back through to the back side:

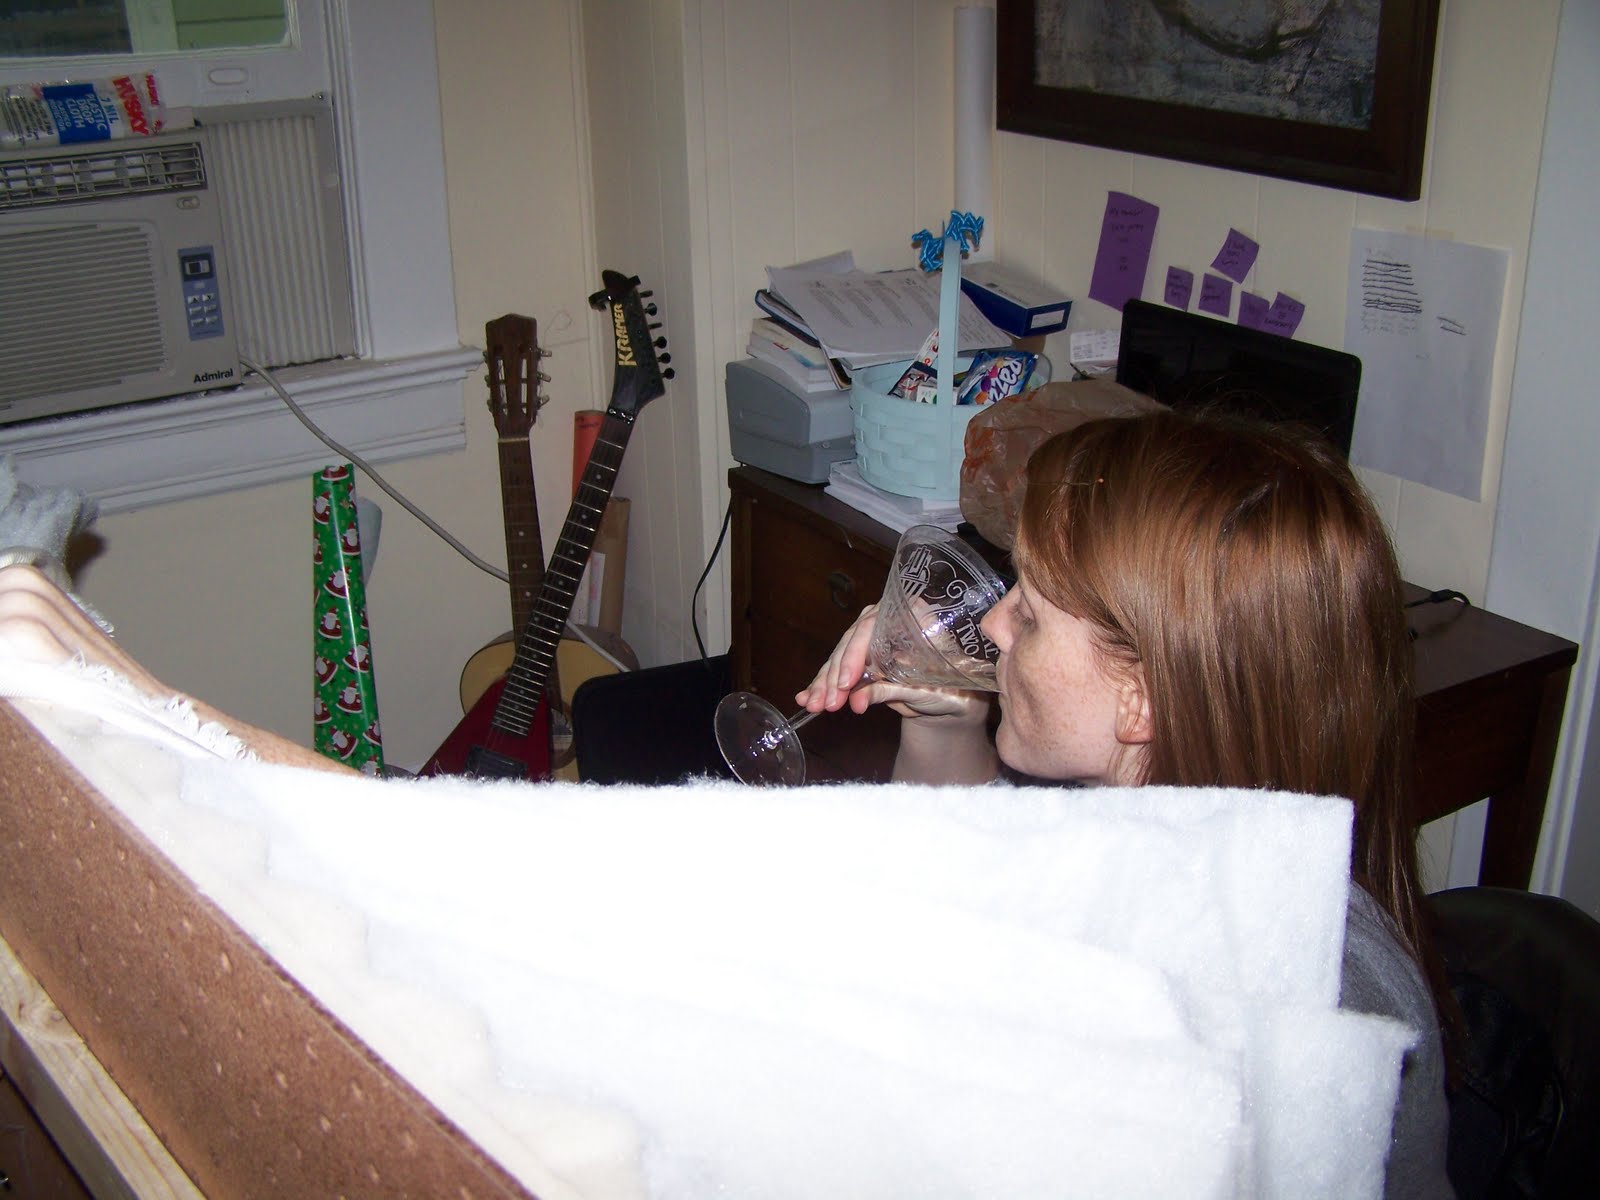
We sipped cocktails while tufting ~ it was purely medicinal and reduced our stress!
Ultimately, this project took us about 9 hours:

Follow our tips and you should be able to hammer it out in about 4. It was well worth it ~ look how pretty it is!


If you've made a tufted headboard, I'd love to hear from you! Share your comments here and you're automatically entered to win this month's blog giveaway...

...A Retro Revival shower cap of your choice ~ yay! Drawing is April 30th.